Have you ever wondered how you can create your own for your planner dividers using Cricut Design Space? Well, let me help you out. I created these cute Top Tab Dividers using the Close To My Heart Paper Pack called JACK. I love the look of them showing at the top of the planner, instead of the side.
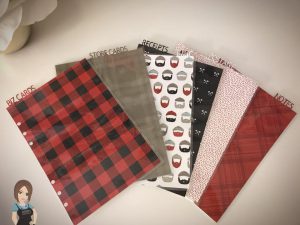
I took some screen shots as I was creating that I hope you’ll find helpful….
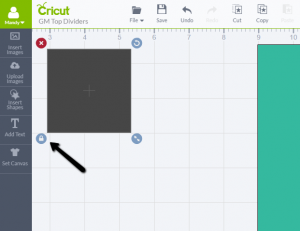
To get started you’ll start with a blank canvas in your Cricut Design Space and then you’ll select Insert Shape on the left side. Now select a Square as shown in the picture to get started with your divider.
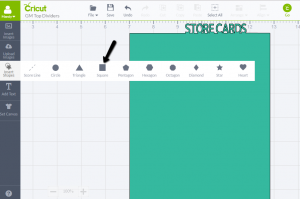
Next you’ll want to click on the lock button that is at the bottom left side of the square to unlock it. This makes it so you can manipulate the shape so it doesn’t have to stay a square. This must be done to turn it into a rectangle for your dividers.
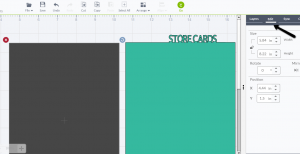
To adjust the size, you can either go to the Edit tab on the right side next to Layers or you can click on the arrows on the right bottom of the box and drag it until you get the size you’d like it.
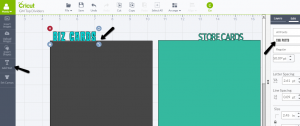
Now you’ll want to click on Add Text on the left side. Type the font that you want your tab to say. I used Biz Cards for this example. On the right side, you can click on the Edit Screen and then using the second drop down menu, you can scroll down and select a font you’d like to use. In the image below, I show 2 different fonts to show a variety. You’ll be able to pick from fonts that are saved on your computer or ones that are available for purchase or free through the Cricut Design Space Subscription. Then you can use the arrow on the bottom right of the font to drag it around and change the size. This can also be done using the Edit area on the right. You can even put the letters closer together or farther apart, stretch them taller or make them shorter. Those are all tools in the edit section.
Here is where you’re going to merge the font and the rectangle together. This has to happen in order to print them out as one piece. To do so, you can either click on the font and while holding the shift button down you can click on the rectangle so that both are highlighted. Or you can click the 2 under the layers section using the shift button. Once both are highlighted, click on Weld. Once you weld them they will be 1 image and you wont be able to go back and edit the sizing of each individual piece (only as one piece now), so be sure you’re pieces are exactly where you want them before welding them together.
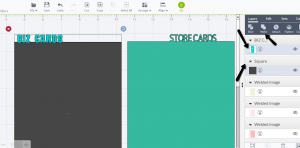
Viola… now the color is all one and that means your image is one piece.
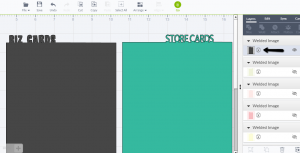
Then you can just click on GO and print them out. I laminated mine with my Scotch laminator and then trimmed the edges leaving just a tiny space all around the outside. Then I used a A5 size hole punch to put the 6 holes in it. Easy peasy!
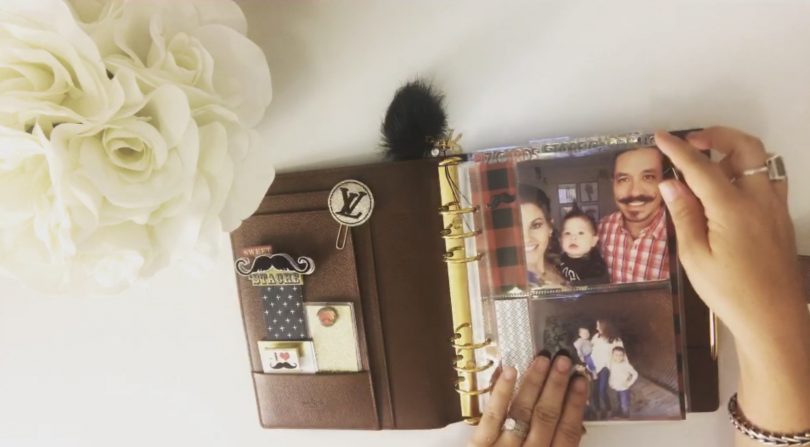
Here is a quick video to show you all how I’m currently using them in my agenda. I actually purchased this Louis Vuitton GM size agenda to use as a planner, which I did for several months. Now that I’ve recently switched to using my iPad Pro and doing digital planning, I wanted a way I could still get use out of this agenda and this was the perfect solution for me. Hope you like it!
